How I Made My Multilingual Blog
#react
#nextjs
#tailwind
#mdx
Published on May 22, 2021
·7 min read
This is my very first blog post on my website, so for this one, I will try to explain how I came up with my blog. I will mostly explain the stack I used and how I tackled the internationalization of the whole website.
Next.jsLink to this heading
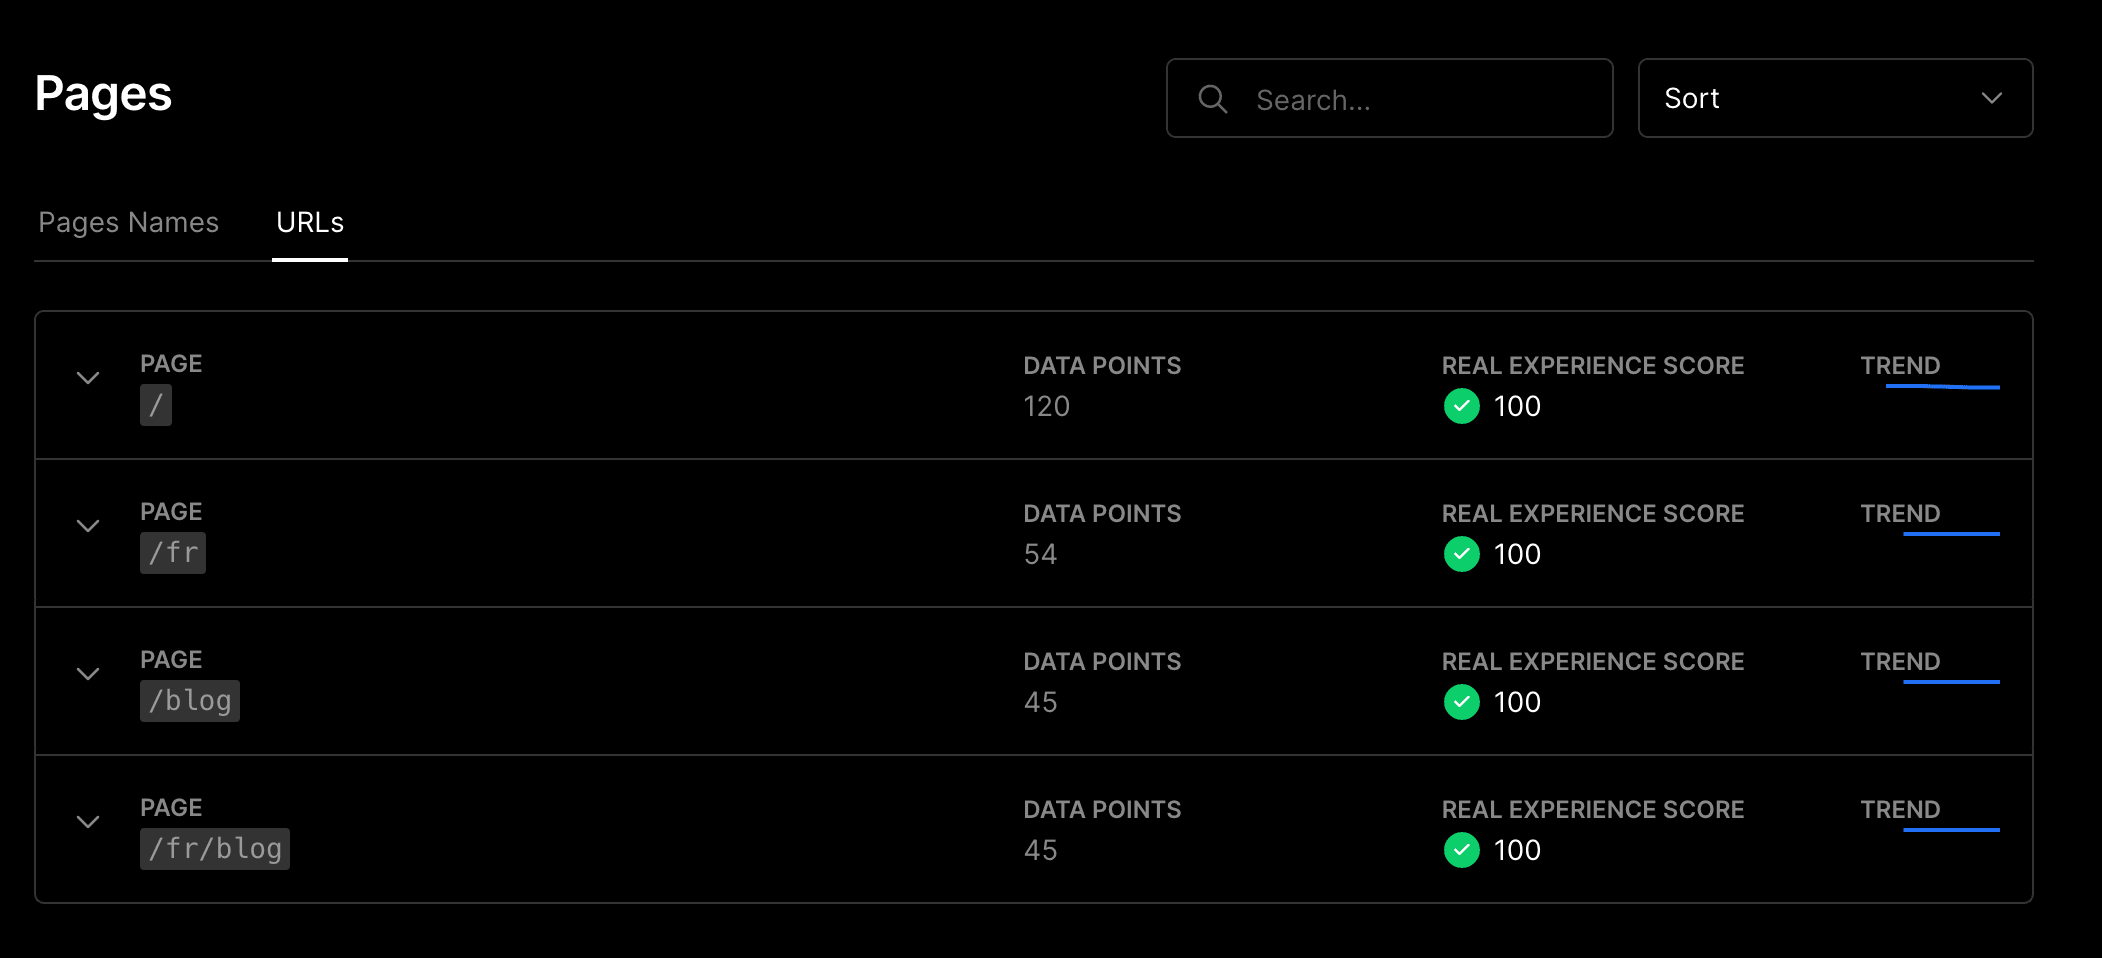
As a React developer, I decided to create my whole website and thus my blog with the Next.js framework. It's been several months since I started using Next.js and it's just fantastic. I don't get to work extensively with Webpack, the performance is outstanding (e.g. look at these metrics on my latest PR), my pages are automatically generated as static HTML, I can use the API Routes for specific on-demand images.
Well, I'm just in love with this framework! Don't forget to get your ticket for the online Next.js Conf.
SSGLink to this heading
One of the main strengths of Next.js is its different methods of data fetching. You could either choose to fetch data at build-time (e.g. Static Site Generation) or on-demand on each request (e.g. Server Side Rendering).
I chose the former one since it's only a simple website with blogs where pre-rendering at build-time is possible and thus increases the performance.
export const getStaticProps: GetStaticProps = async ({ locale }) => {
const language = await import(`../locales/${locale}.json`);
return {
props: {
lngDict: language.default,
},
};
};
API RoutesLink to this heading
API Routes are simply awesome. Coming from AWS Lambda, I think the serverless world should be learned and used extensively. Thus, having the luxury to have inside the Next.js framework a way to create and use easily a serverless function is just the cherry on the cake.
Several use cases of mine:
- An endpoint to request an SVG file that displays Lighthouse scores: lh-svg;
- An API for the FIFA Club Pro FCSilmi team: fcsilmi;
- Endpoints for Spotify authentication: currently-playing;
On my website, I use the API Routes for two things. On one hand, to request my pinned repositories and my contribution graph on GitHub. On the other hand, to request on-demand images for my blog posts using puppeteer-core.
export default async (
req: NextApiRequest,
res: NextApiResponse,
): Promise<void> => {
const { slug } = req.query || {};
if (slug) {
const blogs = getBlogs();
if (!blogs.find((blog) => blog.replace(/\.mdx/, '') === slug)) {
return res.status(404).send('Not Found');
}
const html = generateBlogImageHTML(slug as string);
const file = await screenshot(html);
res.setHeader('Content-Type', `image/png`);
res.setHeader(
'Cache-Control',
`public, immutable, no-transform, s-maxage=31536000, max-age=31536000`,
);
return res.status(200).end(file);
}
return res.status(404).send('Not Found');
};
VercelLink to this heading
My website is deployed on Vercel. As being the company behind Next.js, I initially expected them to have the best integration with their framework.
But after using it for multiple sites, I have several things to say about their product. In 2 clicks, you can deploy not only your Next.js website but also a ton of other javascript-based websites. Since Next.js 10, you can use freely, for just one website, their Next.js Analytics. You can configure custom domains, secret environment variables, integrate GitHub Apps to automate aspects of your workflow. Go try it for yourself, you won't be disappointed.
Tailwind CSSLink to this heading
I discovered Tailwind CSS last September and since then, whenever I can, I use it. Here are my two cents on this CSS framework:
- I can rapidly build UI with already existing utility classes;
- I decreased my CSS bundle size which means higher performance overall despite my not-so-good CSS skills;
- I just feel more productive;
MDXLink to this heading
MDX is what powers this blog in terms of writing experience. It is an extension of the Markdown that lets us seamlessly write JSX in our Markdown files. Basically, we can use and benefit from React components inside a Markdown file.
For a developer like me, write in Markdown is a daily habit. Indeed, if you use GitHub or GitLab for your pull requests, then you've already written in Markdown.
# How I write the above paragraph in Markdown:
[MDX](https://mdxjs.com/) is what powers this blog in terms of writing experience. It is an extension of the Markdown that lets us seamlessly write JSX in our Markdown files. Basically, we can use and benefit from React components inside a Markdown file.
For a developer like me, write in Markdown is a daily habit. Indeed, if you use GitHub or GitLab for your pull requests, then you've already written in Markdown.
Here's an example with MDX copy from the official website:
# Hello, *world*!
Below is an example of JSX embedded in Markdown. <br /> **Try and change the background color!**
<div style={{ padding: '20px', backgroundColor: 'tomato' }}>
<h3>This is JSX</h3>
</div>
mdx-bundlerLink to this heading
To make Next.js works with MDX, we need to compile and bundle the markdown files. For this task, I decided to go with the new mdx-bundler library made by the famous Kent C. Dodds.
I don't have any experiences with the other libraries (e.g. next-mdx-enhanced, next-mdx-remote) so I won't judge the pros and cons of one compared to the others.
To increase the reader experience, I tried to customize as much as possible every component that renders the final page like the headings with custom anchor link, lists (unordered and ordered), images, codes, inline codes etc... More to come obviously with all the blog posts I want to write.
I was greatly inspired by awesome blogs I follow:
FrontmatterLink to this heading
What makes the whole blog complete is metadata. One way is the frontmatter.
I use them for UI and SEO purposes because I can store key-value pairs like title, description, publication date, tags and language.
Here's what this blog post looks like in terms of frontmatter:
---
title: How I Made My Multilingual Blog
description: An overview of how I came up with my multilingual blog. I will mostly explain the stack I used and how I tackled the internationalization of the whole website.
locale: en
alternate: /blog/mon-blog-bilingue
isPublished: true
publishedAt: "2021-05-22"
tags:
- react
- nextjs
- tailwind
- mdx
---
Content here ...
InternationalizationLink to this heading
Since the beginning, I knew I would like my blog to be both in french and in english. The latest major version, Next.js 10, released in October 2020, makes it even easier to create internationalized websites.
You just need to add in your next.config.js file, the i18n key with your languages and Next.js will start Subpath routing your user based on their Accept-Language header.
// Configuration for my website
module.exports = {
i18n: {
locales: ['en', 'fr'],
defaultLocale: 'en',
localeDetection: false,
}
}
I work with next-localization to send the right translations to my child components.
When you work on an internationalized website, you need to think in terms of SEO (Search Engine Optimization) and thus you have to be thorough on what you display in your HTML <head> tag.
I tried to push to the extreme the internationalization by having both english and french RSS feeds, webmanifets and to change accordingly in the <head> tag the relevant link. As much as possible, I tried to follow the recommended practices as per Google Search Console or W3C. All feedbacks are welcome.
What's next?Link to this heading
I will continue to improve my website, both from the writer and from the user perspective. PRs are welcome if you want to be part of this adventure.
I've just started my creator journey and for that, I'm so thankful to all the creators I follow, from whom I learnt and still learn a lot:
I started to live streaming my developer adventure on Twitch, and hopefully, soon I will release my first video on Youtube.